How to Replace the Sensor in an XLERATORsync
How to Replace the Sensor in an XLERATORsync
Is the sensor in your XLERATORsync hand dryer spout malfunctioning? Don’t worry, replacing it is a relatively simple process that you can easily do yourself. In this step-by-step guide, we’ll walk you through the necessary steps to replace the sensor and ensure your hand dryer works smoothly again. Let’s get started!
Step 1: Unplug the Dryer Box
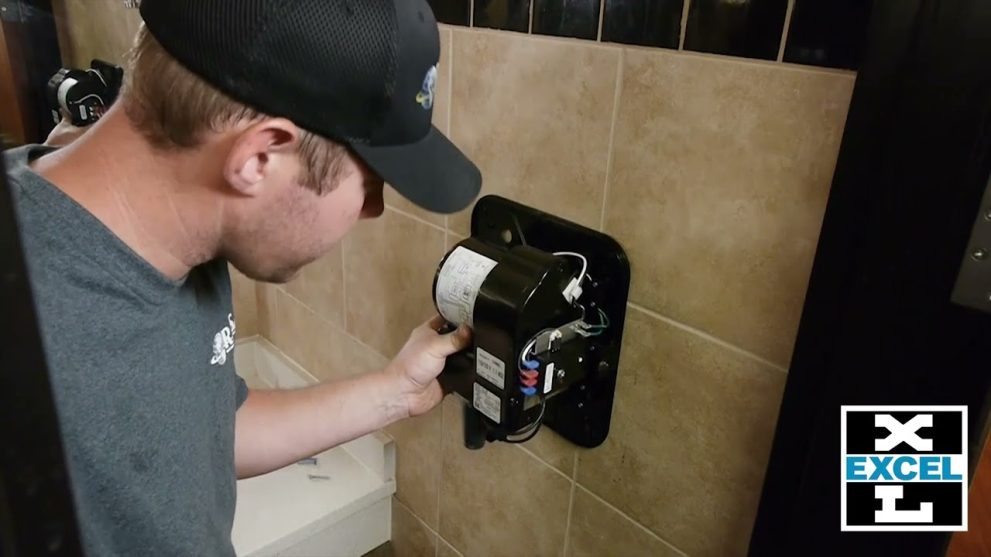
Before beginning the sensor replacement, it is crucial to ensure your safety. Start by unplugging your hand dryer box from the power source. This step will eliminate any potential electrical hazards during the replacement process.
Step 2: Unscrew the Sensor Unit
Using a Phillips head number two screwdriver, locate and unscrew the sensor unit from the bottom of the hand dryer spout. As you unscrew the sensor unit, be cautious and hold the screw to prevent it from falling down, as losing it could cause further inconvenience.
Step 3: Slide Out the Nozzle for Access
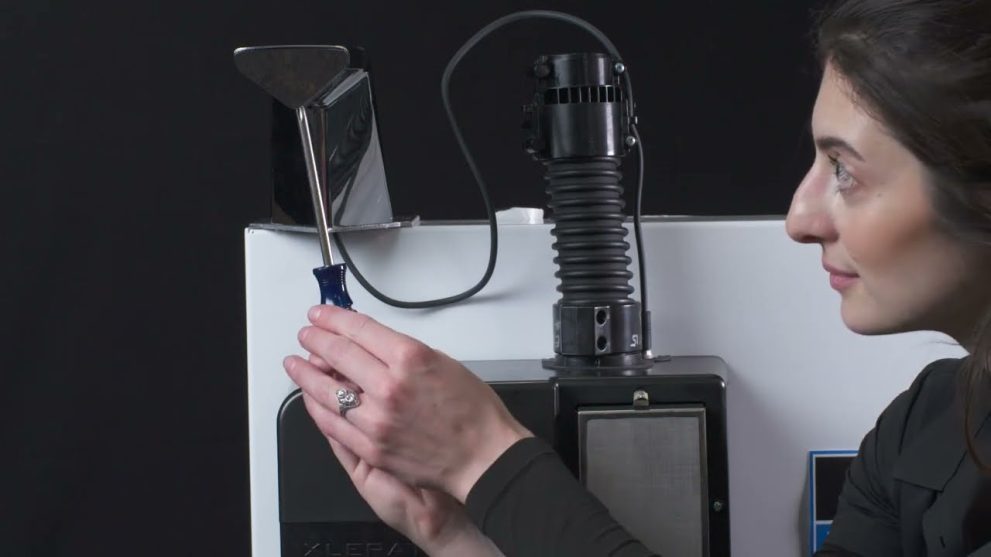
To gain access to the sensor, pull and slide the front of the nozzle out. If you encounter difficulty removing it, you can use a 45-degree angle and tap gently on the handle of the screwdriver to push it out. This method will help dislodge the nozzle for easy removal.
Step 4: Remove the Sensor Unit and Cable
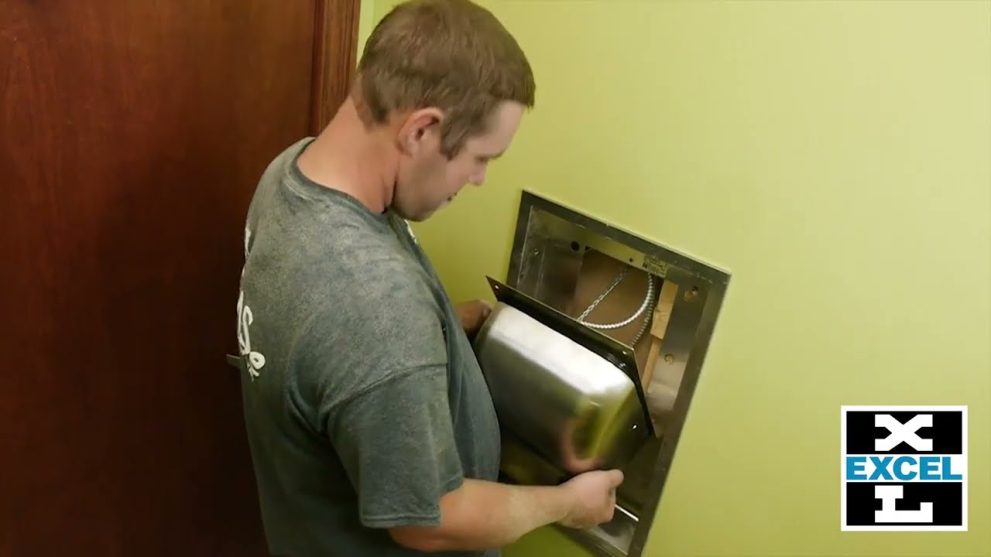
Gently pull the sensor unit along with the cable from the conduit, ensuring you avoid any potential damage or loose connections to the base circuit board. Take the black plastic part with the sensor out from the metal nozzle and flip it, so the green circuit board faces you. Set the metal nozzle aside for now.
Step 5: Attach the New Sensor
Using a diagonal cutting plier, cut the zip tie that secures the cable, taking care not to damage the wire insulation. With a needle nose plier, gently grab the clips to disconnect the connector from the green circuit board. Take the new sensor and attach it securely to the circuit board.
Step 6: Secure and Reassemble
Pass a new zip tie through the two holes and connect it with the harness, ensuring proper alignment of the connector. Cut any excess length of the zip tie. Place the black plastic piece securely back into the metal nozzle, making sure the sensor light aligns with the hole in the nozzle. Gently push the wire back into the conduit and slide the sensor unit, along with the nozzle, back into place. While pushing the sensor in, gently pull the wire from underneath the sink to eliminate any slack. Slide the front of the nozzle back, aligning it flush with the edge of the sensor mounting. Finally, replace the previously set-aside screw using a number two Phillips head screwdriver.
By following these 6 simple steps, you can replace a sensor in your XLERATORsync hand dryer spout efficiently and effectively. Remember to prioritize your safety by unplugging the dryer box before beginning the process. With a few basic tools and careful attention to detail, you can restore your hand dryer to proper functionality and ensure a seamless hand-drying experience for yourself and others.
Explore Other How-To Videos


