How to Install your Excel Dryer Recess Kit
How to Install your Excel Dryer Recess Kit
In this comprehensive guide, we’ll walk you through the process of installing your Excel Dryer Recess Kit. While we recommend hiring a professional for the job, following these guidelines will help ensure a safe and successful installation.
Step 1: Measure Carefully
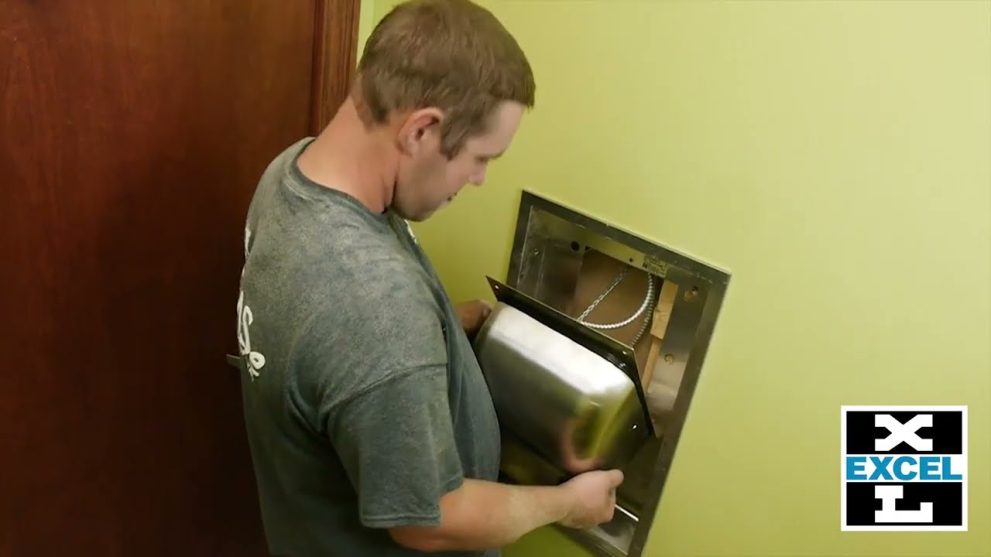
One of the fundamental steps in installing a recessed Excel Dryer is to get the measurements right. Accurate measurements are crucial for a snug and secure fit within the wall. Excel Dryer recessed units are typically installed 3.5 to 4 inches into the wall, creating more space in your bathroom.
Step 2: Follow ADA Mounting Recommendations
Excel Dryer provides ADA mounting recommendations for both height and depth. Adhering to these guidelines ensures that your hand dryer is accessible and user-friendly for everyone. ADA compliance is essential for public restrooms and demonstrates a commitment to inclusivity.
Step 3: Be Prepared for Variations
Every installation can present unique challenges, especially in older buildings. You might encounter unexpected surprises behind the wall, such as plumbing or electrical components. It’s essential to be flexible and prepared to adapt your installation strategy as needed.
Step 4: Remove Knockouts
To accommodate the recessed installation, you’ll need to remove knockouts in the wall. This can typically be done with a screwdriver and a light tap from a hammer. Be cautious while doing this to avoid damaging the surrounding area.
Step 5: Dedicated Electrical Circuit
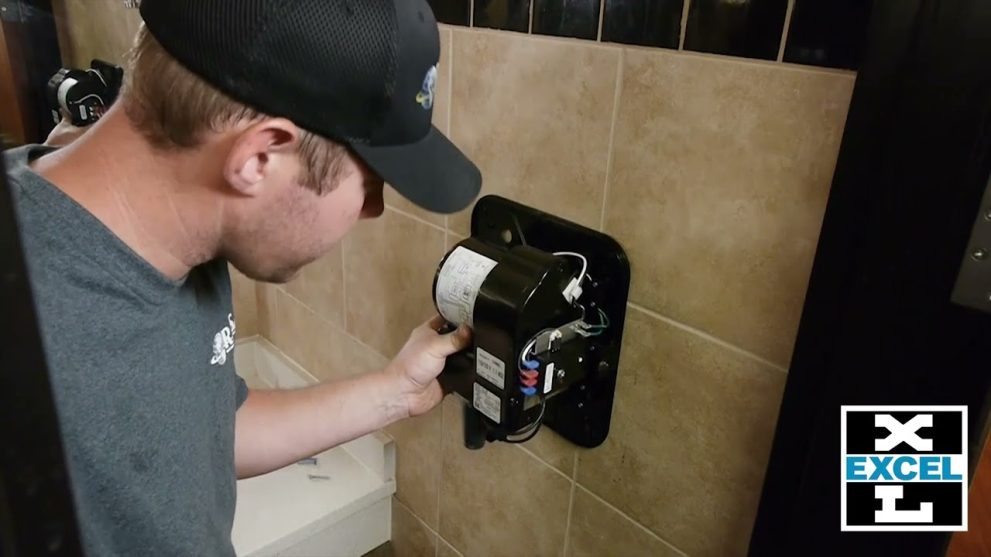
Excel Dryers must be installed into a dedicated branch circuit. Avoid wiring the dryer into the lighting circuit or any other circuit. This ensures that the dryer operates efficiently and safely without overloading other electrical systems.
Step 6: Keep the Tamper-Proof Wrench Handy
The Tamper-Proof Wrench is a specific tool designed for Excel Dryer hand dryers. It’s crucial to keep this wrench with the person responsible for maintaining the dryer after installation. This helps prevent unauthorized access or tampering with the unit.
Congratulations on your decision to install a recessed Excel Dryer in your restroom! By following these installation guidelines, you’ll be on your way to creating a more spacious and user-friendly bathroom environment. While we strongly recommend hiring a professional for this task, understanding the basic steps involved will help you make informed decisions and ensure a successful installation.
Remember to prioritize safety and compliance with ADA guidelines throughout the installation process. With the right tools and a dedicated approach, you can enjoy the benefits of a recessed Excel Dryer for years to come.
Explore Other How-To Videos


